
Ignoring proper Revit workset management is one of the biggest mistakes a BIM Coordinator can make. I learned this lesson the hard way—and it cost my team weeks of extra work, frustration, and project delays.
In this article, I’ll share my experience with poor workset management and give you practical tips to avoid making the same costly mistake. Whether you’ve been using Revit for years or just starting out, these workset management principles will help keep your projects organized and running smoothly.
Table of Contents
The Mistake That Almost Ruined My BIM Project
Early in my career as a BIM Coordinator, I didn’t take Revit worksets seriously enough.
I was working on a high-rise office building project with complex systems and custom designs. It was much bigger than anything our team had done before. We had tight deadlines, and everyone was working as fast as they could.
Our first mistake was jumping into work without setting up clear workset rules. As we worked, team members started creating new worksets without any standard naming or organization. Within weeks, our model became a mess of confusingly named worksets like:
- “Miscellaneous,”
- “John’s Workset,”
- “Temporary_Do_Not_Use,”
- or just “Pipes level 1.”
Real problems started when we needed to coordinate between disciplines. Finding specific elements became like searching for a needle in a haystack. Team members wasted hours looking through dozens of poorly named worksets.
The model got slower and slower. Worst of all, when deadlines got close, the confusion led to modeling errors that weren’t found until late in the project.
As the BIM Coordinator, I felt completely overwhelmed. What started as a small organizational issue grew into a project-wide crisis. The model became unstable, conflicts multiplied, and team morale dropped.
The most frustrating part was realizing that fixing the problem would require redoing a lot of work—time we didn’t have.
After several late nights and emergency meetings, we had to pause production for almost two weeks to reorganize our entire workset structure. This meant moving thousands of elements to their proper worksets, setting up new rules, and retraining the entire team.
The lesson I learned was simple:
Always have a clear workset strategy from day one. Period.
Have a Clear Workset Strategy Right from the Start
If you don’t set clear guidelines for worksets early, your project will quickly become a mess. This is especially true for bigger projects with multiple team members working at the same time.
Worksets in Revit help you split your model into smaller, easier-to-manage parts. They’re somewhat like layers in CAD but give you more control. When used properly, worksets allow your team to work on different parts of the same project at the same time.
Revit creates one central model, usually stored on a server, and each team member works on their own local copy, sending changes back to the main model.
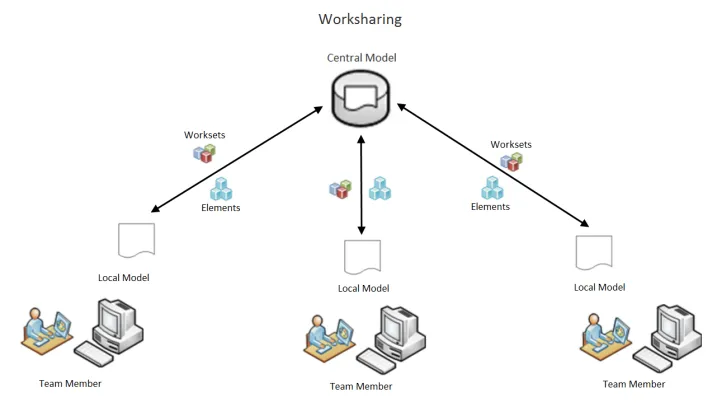
Source: autodesk.com
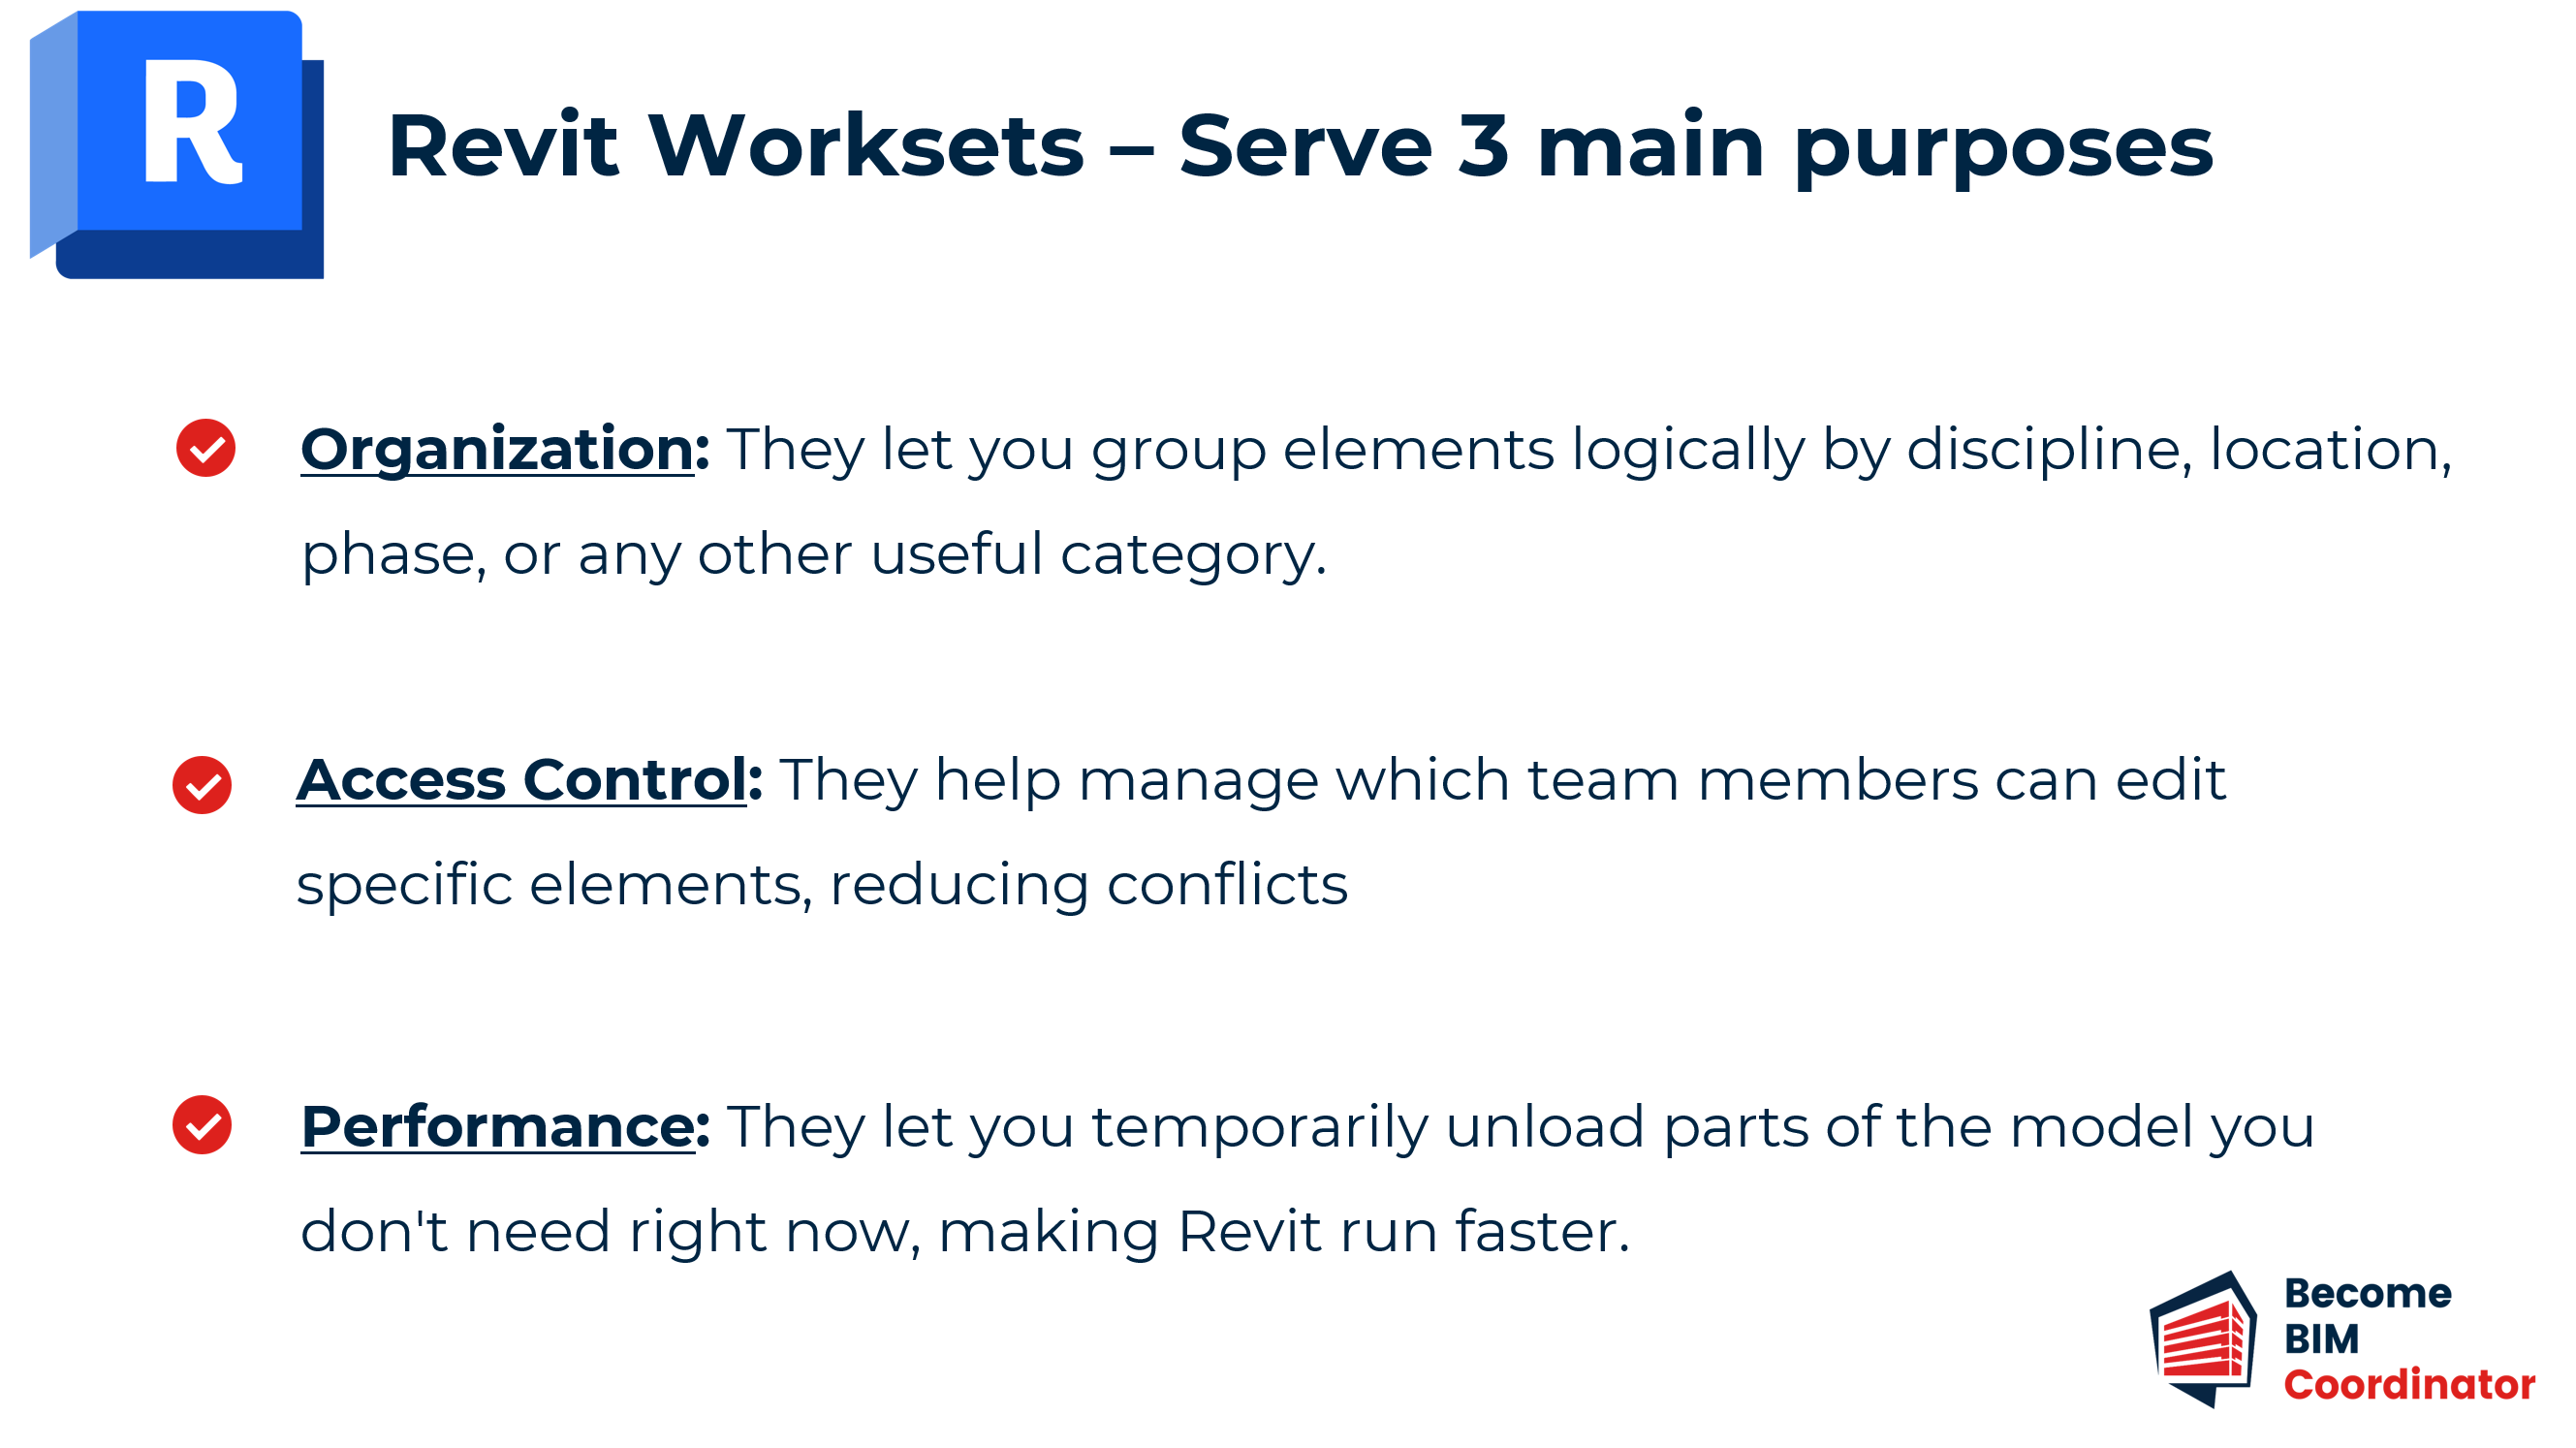
Worksets serve three main purposes:
- Organization: They let you group elements logically by discipline, location, phase, or any other useful category.
- Access Control: They help manage which team members can edit specific elements, reducing conflicts.
- Performance: They let you temporarily unload parts of the model you don’t need right now, making Revit run faster.
Without a clear plan for how these worksets are created, named, and used, you’ll quickly find yourself in the same mess I faced—a disorganized model that slows you down rather than helps you work.
Workset Tips to Ensure Project Success
Based on my experience and lessons learned, here are three key workset management practices that will help keep your projects organized and your team productive.
#1. Set Up Clear and Simple Naming Conventions
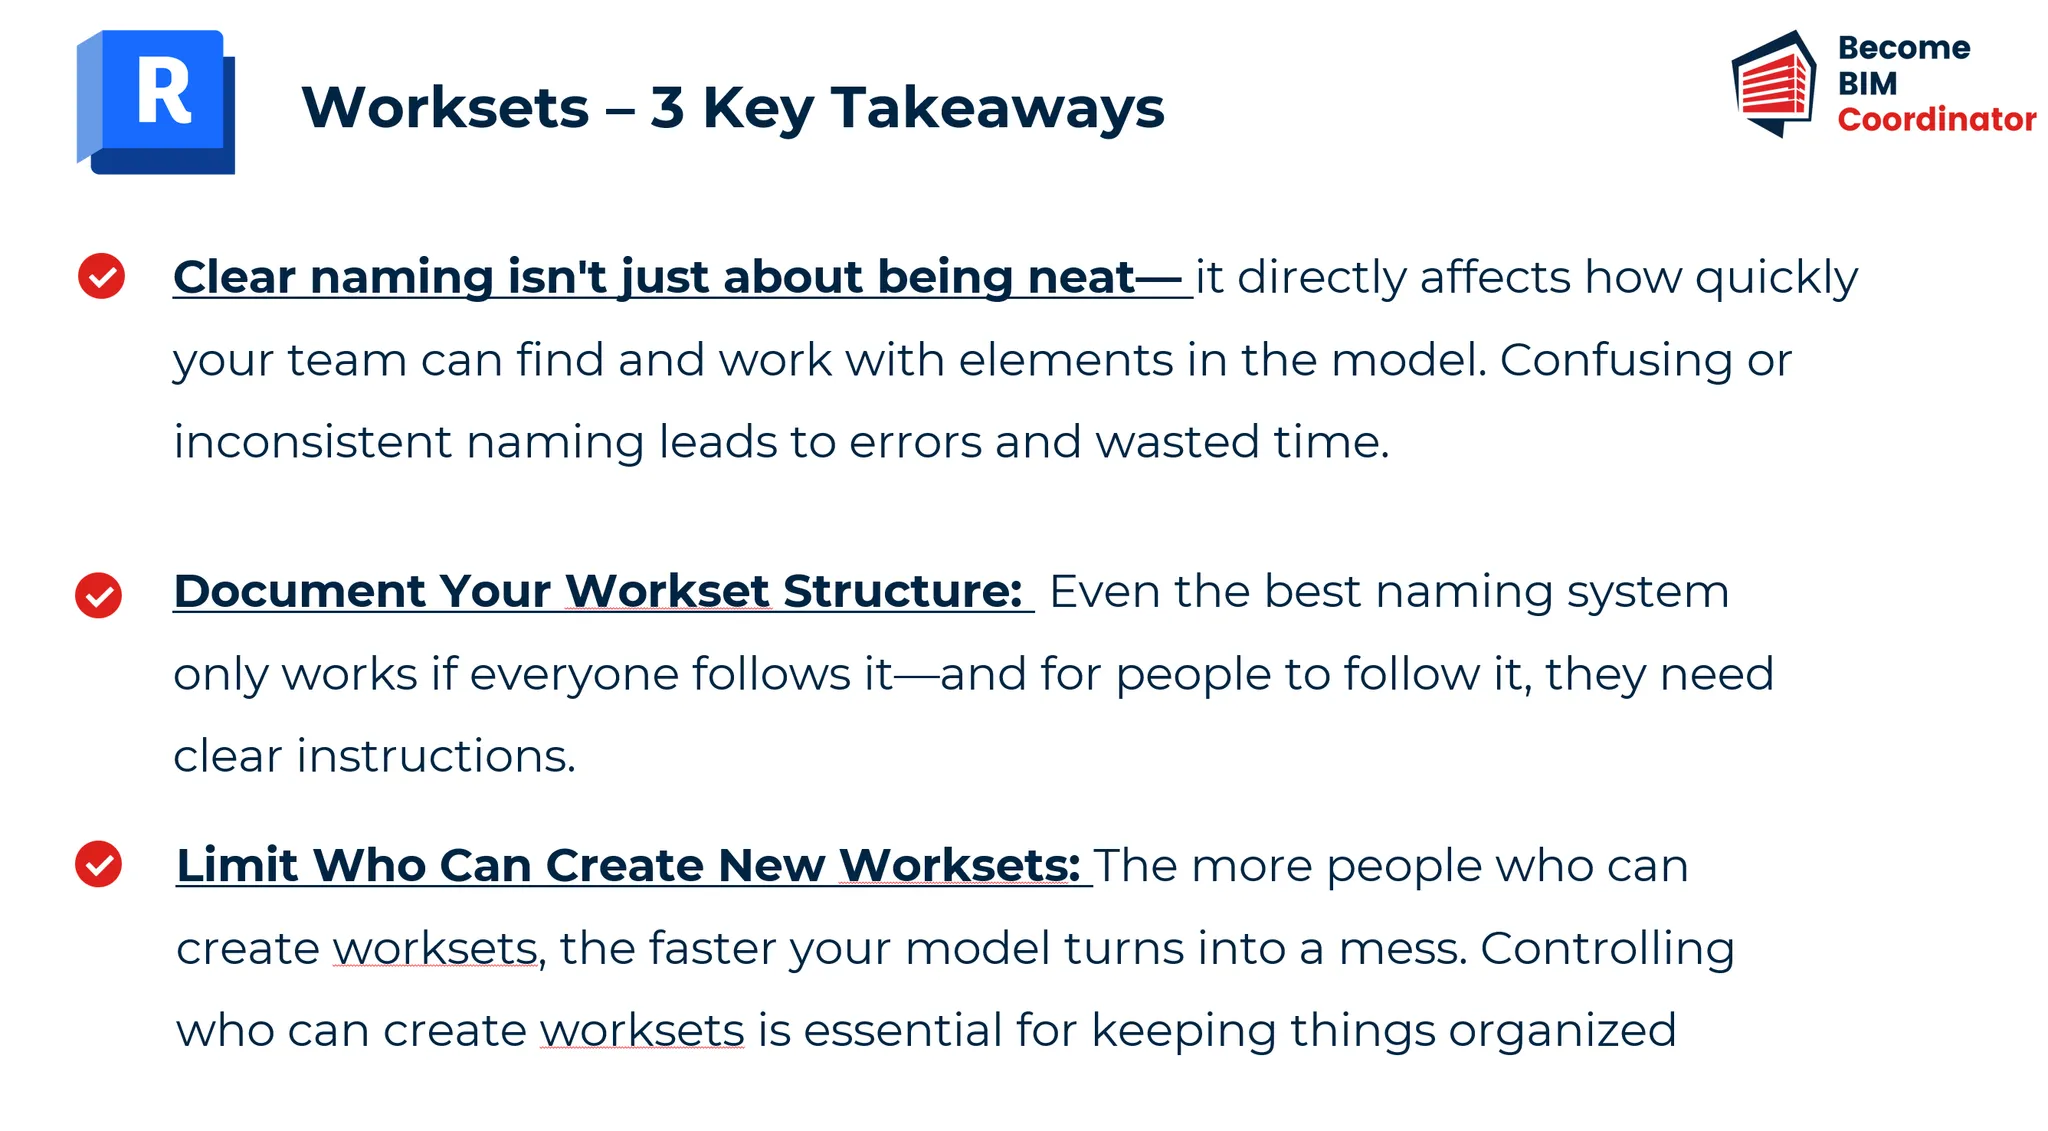
Clear naming isn’t just about being neat—it directly affects how quickly your team can find and work with elements in the model. Confusing or inconsistent naming leads to errors and wasted time.
Here’s how to create an effective naming system:
Tip 1: Use consistent prefixes for example:
- ARCH_ for architectural elements
- STR_ for structural components
- MEP_ for mechanical, electrical, and plumbing
- SITE_ for external site elements
- COORD_ for coordination elements
This instantly tells every team member what belongs where.
Tip 2: Be specific but brief:
Instead of vague names like “Miscellaneous,” use clear terms:
- “ARCH_Facade” instead of “Exterior”
- “MEP_Mechanical_Equipment” instead of “Equipment”
- “STR_Foundation_Level1” instead of “Foundations”
Tip 3: Don’t use personal names:
Worksets like “John’s Workset” or “Sarah’s Stuff” don’t tell anyone what’s inside them and cause problems when team members change.
Include phase or zone information when needed: For complex projects, consider adding:
- “ARCH_Core_Phase1”
- “MEP_Plantroom_Tower2”
- “SITE_Landscaping_NorthZone”
Tip 4: Write down your naming rules:
Create a simple guide that explains your naming system and make sure everyone on the team can access it.
Tip 5: Check worksets regularly:
Schedule weekly / monthly (depending on project compexity) checks of your workset structure to catch and fix any problems early.
Remember there’s no single “right” way to structure worksets. Every project has different needs. The key is to create a system that makes sense for your specific project and make sure everyone follows it.
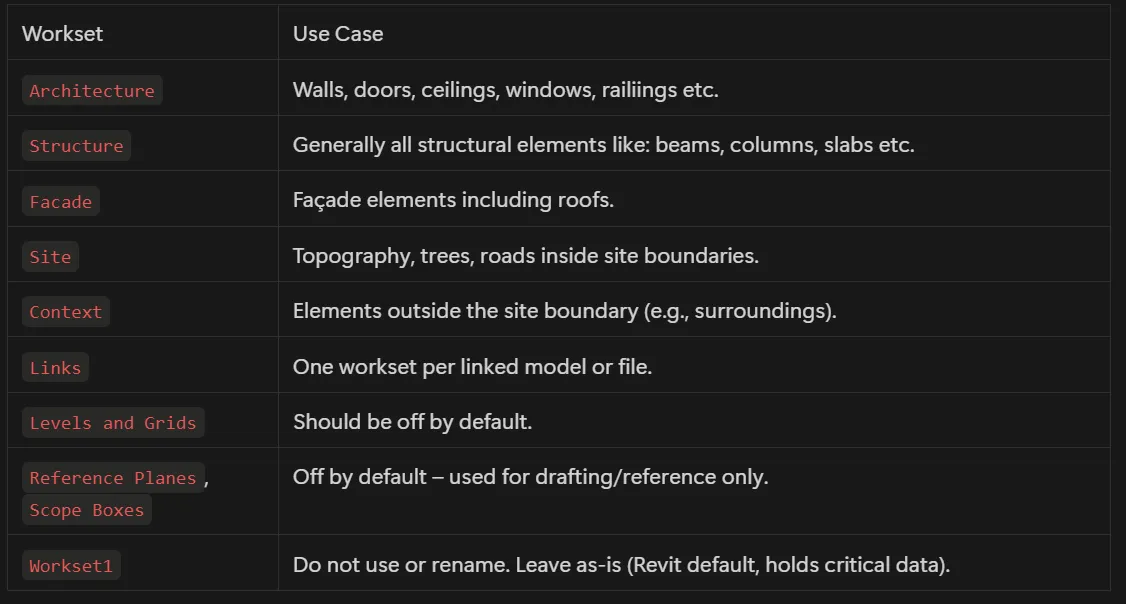
Example of simple workset structure:
#2. Document Your Workset Structure Clearly
Even the best naming system only works if everyone follows it—and for people to follow it, they need clear instructions.
Here’s how to make sure your workset strategy is properly documented and communicated:
Tip 6: Include a “Workset Strategy” section in your BIM Execution Plan:
Define what each workset is for, who can create them, and when they should be used. This becomes your official reference for the project.
Tip 7: Create a simple visual guide:
Make a one-page chart showing your workset structure with short descriptions. This helps team members quickly understand where elements belong without reading through long documents.
Tip 8: Keep your documentation updated:
As projects change, so might your workset needs. Update your documentation when changes happen and let the team know.
Tip 9: Train new team members:
Anyone joining the project should learn about your workset strategy before they start modeling. This prevents problems before they begin.
Tip 10: Create a template file:
For firms that handle similar projects, consider creating a template with your workset structure already set up. This ensures consistency and saves setup time.
Tip 11: Hold regular BIM meetings:
Use these meetings to review workset usage with your BIM team, answer questions, and make sure everyone is following the strategy.
Interactive BIM Coordination guide full of tips, graphs, mind maps, and practical exercises. It will teach you the basics of BIM Coordination. All for free.
#3. Limit Who Can Create New Worksets
The more people who can create worksets, the faster your model turns into a mess. Controlling who can create worksets is essential for keeping things organized.
Here’s how to implement effective controls:
Tip 12: Restrict permissions:
Only BIM Coordinators or Project BIM Managers should be able to create new worksets. This ensures naming rules are followed and prevents unnecessary duplication.
Tip 13: Create a simple request process:
If team members need a new workset, have them explain:
- What specific elements the workset will contain
- Why existing worksets don’t work for their needs
- How the new workset fits into the overall project organization

Tip 14:Review worksets regularly:
Depending on your project, conduct weekly or monthly reviews of the workset list to identify and solve any organizational issues before they become big problems.
Tip 15: Use automation where possible:
Consider using Dynamo scripts or other tools to check worksets and flag those that don’t follow your naming rules.
Tip 16: Explain the “why” to your team:
People are more likely to follow rules when they understand the reasons behind them. Explain how proper workset management makes the model faster and everyone’s job easier.
Tip 17: Keep track of workset decisions:
Keep a simple log of when and why new worksets were created to help future team members understand the organization.
Conclusion: Lessons Learned
Looking back at my mistake, I now understand that setting up proper workset management might feel like extra work at first. But I can tell you from painful experience—doing it right from the start will save you many hours of frustration, rework, and project delays.
The two weeks we lost reorganizing our model mid-project could have been completely avoided with just a few hours of planning at the beginning. Not to mention the stress, team conflicts, and difficult conversations with clients that came with admitting our mistake.
Today, workset strategy is one of the first things I address when starting a new project. The time invested upfront pays off throughout the project with faster performance, clearer communication, and more efficient workflows.
By following these three key principles:
- creating clear naming conventions,
- documenting your workset strategy thoroughly, and
- limiting who can create worksets
you’ll set yourself up for successful BIM coordination on any project, regardless of size.
Remember, proper workset management isn’t just about being organized—it’s about creating an environment where your team can work together effectively and focus on designing great buildings rather than fighting with their software.


Great article – thanks for sharing these hard-won lessons! Worksets really are a game changer, not just for discipline-based splitting but also for segregating things like point clouds, linked models and other heavy or contextual elements that you don’t want loaded (or visible) in every view.
One thing I’ve seen confuse people is thinking of worksets like CAD layers: remember that elements on different worksets still “see” and interact with each other. For example, place two walls on two separate worksets and you’ll still get an intersection void where they meet – so worksets aren’t meant as sketch-layer placeholders. If you need that kind of “on/off” flexibility without impacting geometry, Options or separate models are really the way to go.
Keep up the great BIM coordination tips!