If you read this text, you probably would like to implement BIM in your organization, you are a designer, you lead a design group, or you wish to convince your supervisor. You think BIM is the future, or perhaps you want to start working with BIM, but don’t know how to start.
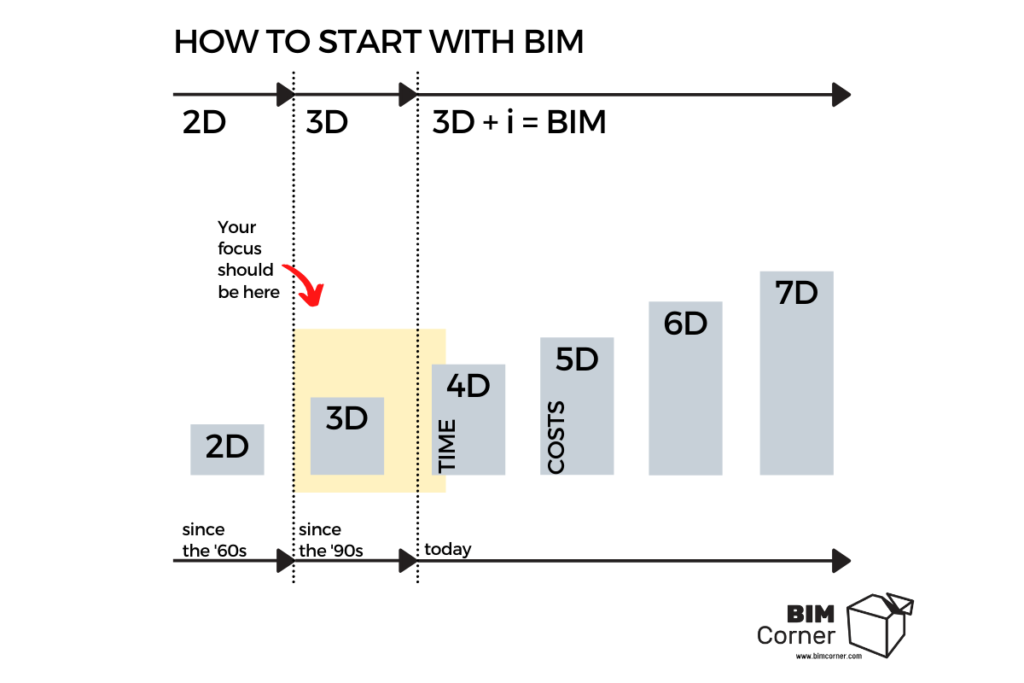
As you have probably noticed, the Internet offers many meanings and explanations of the BIM acronym. BIM 8D, BIM level 3, BIG BIM, BIM BAM BOOM, etc. Except for the names directly related to BIM, you can also find several other acronyms associated with BIM. You might get a bit confused just on the simple decoding of these acronyms. However, if you are interested in the most popular ones, have a look at our previous article: 22 BIM Terms).
I would like to show you a slightly different approach to what you might have read in other places. It may sound surprising, but I recommend that at the beginning of your adventure with BIM, you should not focus on abbreviations, norms, or software!
The most important part of the BIM implementation process is actually to look at the subject in a broader, more holistic perspective. BIM is a set of tools and practices that improve work efficiency and quality of project documentation. It is a starting point. Identify BIM with new technologies and remember that technology includes much more than just software. BIM is a new way of communication, new methods of project management, or even new ways of conducting meetings.
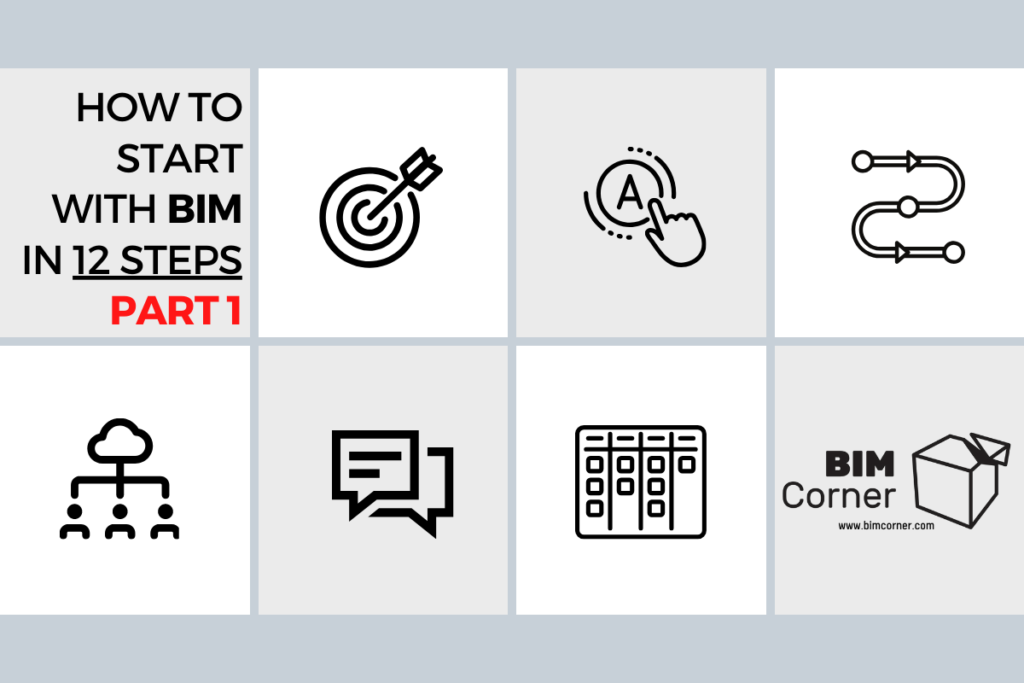
In the following article, I will present 6 out of 12 points, illustrating how to get closer to BIM than you think! I invite you to read.
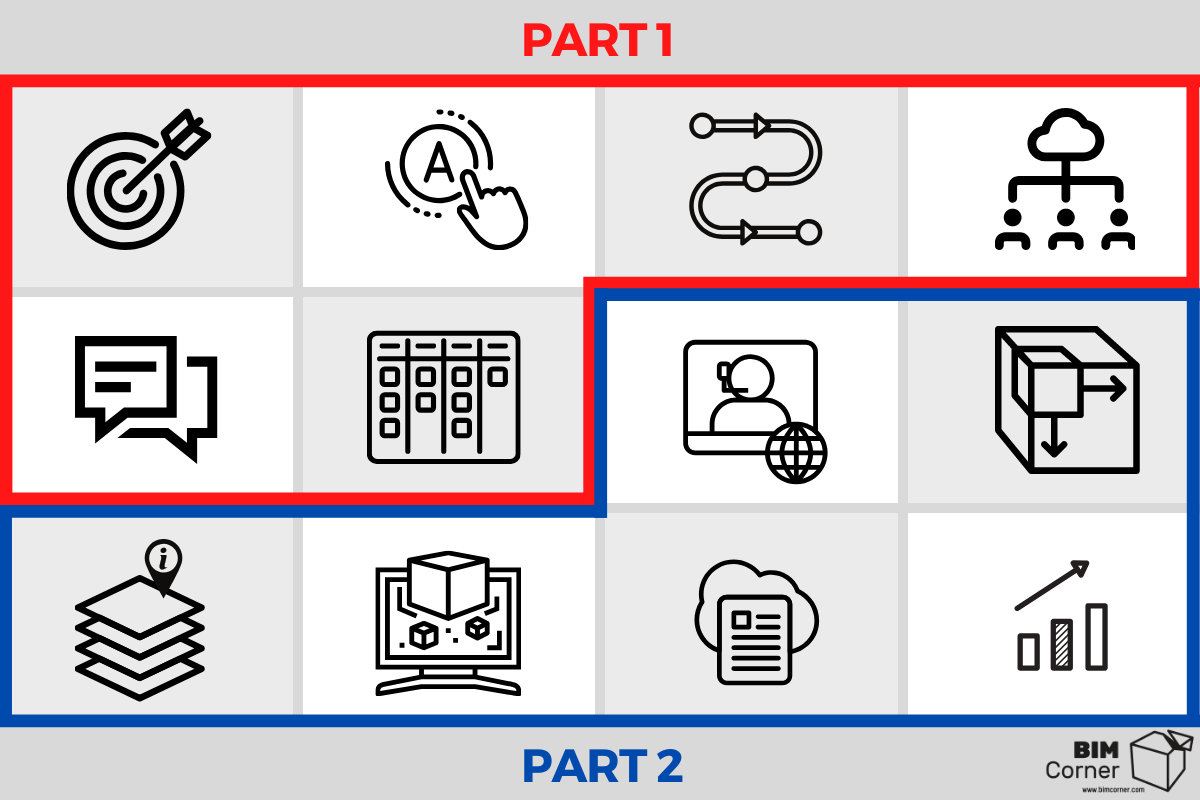
Table of content - PART 1
Any change requires the definition of goals, the direction you are going to pursue. It is no different in such a case. Before you start working with BIM, set clear goals. It is important to define them for the organization and the project. Help yourself by answering a few simple leading questions.
- Why do I want to use BIM?
- How can BIM technology help my organization?
- How can I use BIM in my daily work?
Initially, it is hard to find the right answer, but let me help you by giving you some examples. I have made a list of potential answers, which may also serve as very good goals for the beginning.
- I want to design in 3D
- I want to do 3D coordination
- I want to improve communication in the project
- I want to introduce a better information exchange in the project
- I want to increase the quality of the design team
- I want a competitive advantage
- I want to reduce paper consumption
- I want to provide a better understanding of the project for the ordering party
Remember, the goal needs to be specific and measurable, therefore, in this case, it is worth applying SMART (Specific, Measurable, Assignable, Realistic, and Time – Related) method. Find out more here: https://en.wikipedia.org/wiki/SMART_criteria). As an example, I am going to specify one of the selected goals:
“I wish to improve project communication by introducing new communication tools to reduce e-mail use by 50% by the end of the project.”
There is no better learning method than practice. Here’s what you should do.
Choose a project. It may be a small area, for instance, a pavement project, a detached house project. Ideally, the project should cover several industries, for example, road, electricity, underground infrastructure or architecture, electricity, sewage system.
Modeling all industries with simple 3D models should be the starting point. Do not worry about the level of detail (LOD, LOI, etc.). Introduce the designed model with simple solids. Try to present 3D geometry, without unnecessary objects. The shape of a handle, lamp, or switch is really unnecessary.
Furthermore, ensure that you create 3D models first, and only then, based on a 3D model, generate a 2D floor plan. Spend more time working with 3D models than on drawing documentation. More about modeling and working in a 3D environment in the further part of this article.
After some time, you will notice repetitive activities. These can be for example:
- exporting 3D models to IFC format
- naming folders, files
- setting up a coordination system
- setting the print style
- the way of creating drawing documentation
- the way of conducting an industrial inspection
- the way of conducting meetings
Analyze and break down each of these activities into prime factors.
The example of a divided process in a case of downloading: Downloading a LandXML file from an FTP server > Quality verification > Saved in the IMPORT folder on the server > Importing the file into the program > Conversion file > Saved in the download folder
Next present these steps in flowcharts (link). You may use the applications supporting the process building:
Save each described process as a PDF file. Create a folder on the server dedicated to documents supporting the project (e.g. 01 Processes). Make sure that everyone knows where to find them and how to use them. Such a process will allow you to avoid unnecessary, often expensive changes and mistakes in the future. Moreover, you can use the finished processes as a base for creating your BEP (Building Execution Plan) and procedures for new employees. The process approach is extremely important in BIM.
Each project generates project documentation. The project documentation includes decisions, expertise, technical descriptions, permits, reports, drawings, models, etc.
Make sure all documents have a digital form. In case you have them in the paper version, scan them to PDF format. Then divide the documentation into categories, e.g. Contract, Calculations, Reports, Meetings, Drawings, Models. The created categories would be the names of your folders.
Another step is to choose a place to store the documentation in the form of digital files. If you work only within the company, such a place can be a server that is accessible to everyone (e.g. the DFS-Distributed File System (link). You can also use cloud solutions, such as Google Drive, Sharepoint, OneDrive.
Thus, gather your project documentation in one place. Focus on developing a folder structure understandable to you and your team.
Of course, the best is to use the CDE platform. However, remember, you are just learning and building habits. One step at a time.
It is easy to notice that e-mails do not represent the most effective communication tool. If you send a message to several people at the same time, you may not get an answer, as each of the recipients would think that the other person would answer it.
Another issue is that we can omit someone in the conversation, or the sent e-mail will flow between several people.
Therefore, focus on centralizing communication. While choosing a communication tool, I suggest taking inspiration from the solutions used in the IT world. The best known and commonly used applications are SLACK and Microsoft Teams. How will they improve your communication? These applications were created to replace e-mail. They allow you to create internal thematic channels, transfer files, hold discussions, send private messages, and use video chats.
How does your team work? Does everyone know their tasks and responsibilities? How do you check your work efficiency?
It turns out that a common mistake in construction projects results from a lack of monitoring and progress control. How can you change it? Every project should have a plan. Before starting a project, ensure that you and your team develop a project strategy.
While creating the plan, specify small fragments of the project, for instance, Road, Pavement, Culvert, Electrical Installation. Then divide these fragments into even smaller ones e.g. Route Line, Vertical Geometry, Road Corridor. It is essential to know the ongoing design processes. For instance, we will first design the road, then the lighting masts. First, we build the walls, then we provide the sewage system. It is worth exploring the basics of the backward planning method here. To put it simply, we plan backward, where the starting point is a finished project. More about the method here link.
The result of planning is a schedule in the form of a Gantt chart (link). Microsoft Excel or Microsoft Project can be helpful tools here.
The smallest parts of the project are called tasks. These tasks are interdependent. Therefore, for example, a road designer completing road corridor design works sends data to the bridge designer. It is necessary to catch such dependencies and moments when the designed part is ready to be passed on to a teammate so that he/she can start work.
Going further, divide the design work into two weeks. At the beginning of this period, go through all the tasks and assign them to the right people. During each period, introduce coordination meetings aimed at checking the design. At the end of this period, organize a meeting to discuss the progress of the project.
Additionally, introduce tools for monitoring the work effects. The Kanban board is a good tool to control tasks. It is a table, divided into several columns. Each column is assigned to the appropriate task status (e.g. TO DO, IN Progress, Blocked, IN QA, Done). By using the table you can follow the current status in the project. The applications that may be helpful include Trello, Jira, Confluence.
Schedule short, a few minutes morning meetings where you can share the effects of your work. React immediately in case of problems. Check the schedule. Assign and evaluate tasks. At first, it will be challenging, but over time you will not be able to work without it. For more interesting and similar techniques, please get familiar with the AGILE SCRUM methodology.
A summary of Part 1
As you could read in this article. BIM is not just software. Before you introduce technology into your organization, improve your processes. Remember that your goal is to design more efficiently and provide high-quality documentation. BIM will help you accomplish this, but first, ensure that you have a solid foundation. BIM stands for 90% of processes and 10% of tools.
In the next part of the article, we are going to focus on the following issues: conducting meetings, model description, 3D design, and coordination model. See you in the next part!