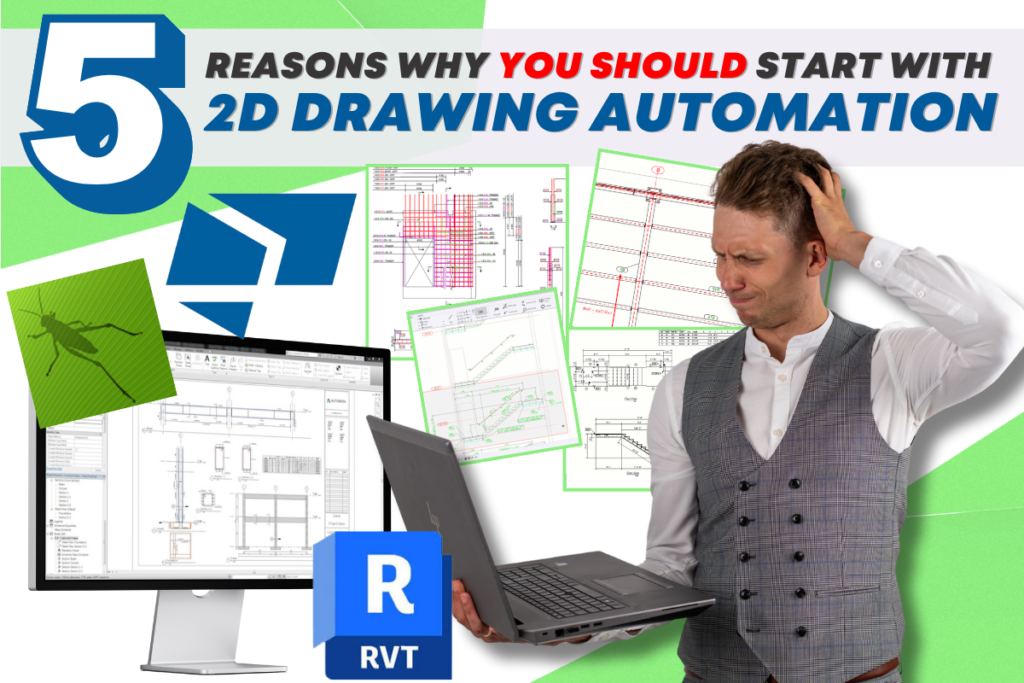
Everyone is focusing on the automation of 3D models. But what about drawing automation? Is every company just outsourcing this tedious task to developing countries? In the world of computational design, where AI is everywhere, producing drawings feels like we’re back to pencil and paper. Engineers’ potential is surely greater than just drawing lines and putting text with numbers in some places. 2D Drawing Automation of cross-sections, dimension lines, part marks, and rebar marks should be a priority for every engineer!
Table of Contents
1. My Story of 2D drawing production
Creating drawings of sandwich walls was one of the most boring tasks in my entire career.
My first engineering job after university was at Spenncon AS Consolis group, where I worked as a Structural Engineer responsible for global analysis, calculating prefabricated elements, creating 3D models, and producing drawings – everything 🙂
However, sandwich elements were always a nightmare and took most of my time. Unlike standard walls, sandwich walls (SW) comprise many more components and complex details, such as insulation, spiro pipes for mounting, pipes for electrical cables, connection plates with various elements, and reinforcement between the inner and outer layers, etc.
Even as I write this text, I have nightmares that those times will come back, and I will have to do the same work again.
The first reason why we should automate 2D drawing production is to develop new skills rather than repeating the same patterns and doing thousands of mouse clicks.
2. Drawing Less Projects are the Future
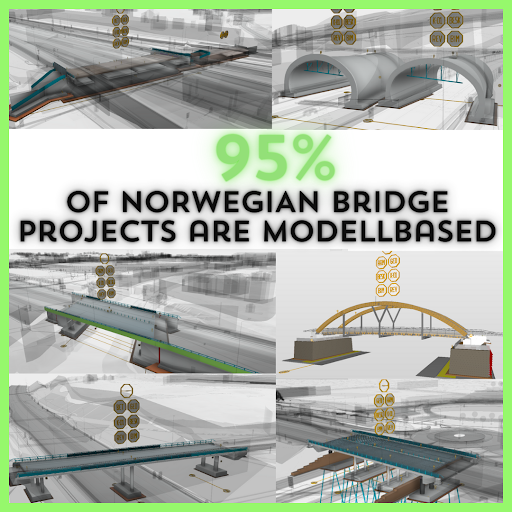
Drawing-less projects are every engineer’s dream. I was fortunate to work in Norway, where I participated in projects that only required 3D models from 2017 onward. No drawings at all—an amazing feeling! Today, years after the first model-based project in Norway, 95% of bridge projects are delivered as model-based, without the production of 2D drawings. The IFC model is the project delivery to the client and contractor.
Should we then stop exploring automation processes of 2D drawings since everything is moving towards skipping drawings entirely and focusing only on the 3D model?
Definitely not!
- Many building projects in Norway are still delivered with drawings.
- Nordic countries are following the trend of skipping drawings, but it’s still a long way off, even for countries with advanced BIM capabilities like Finland, Denmark, or Sweden.
- For prefab elements, steel design, and details, some drawings are necessary.
- An overview drawing is mandatory for all bridges.
- Sometimes, some details are still presented in drawing form to simplify the 3D model.
So, the second reason why we should automate 2D drawing production is:
This transformation into model-based projects may never happen in your country, and we already know that this change takes ages. Waiting for this point and doing nothing is the worst thing we can do. Only by changing daily manual work into more automated processes can we steer the industry in the right direction towards drawing-less projects.
3. 2D drawing automation in Tekla and Revit
As you may already be aware, there is a direct link between Grasshopper and Tekla/Revit, available for free. Every day, new users download this plugin and use it to create native objects in these two most popular pieces of software in our industry. Visual programming has become available to every engineer thanks to its simplicity.
However, there was still one piece missing:
DRAWINGS 📝
Everyone is focused on BIM models and 3D geometry.
But…
…Approximately 70% of the time spent in Tekla or Revit is dedicated to drawing production. This is why automating just 30% of the work (3D modeling) does not yield the best possible results.
Luckily, components for drawing creation and manipulation have been created recently.
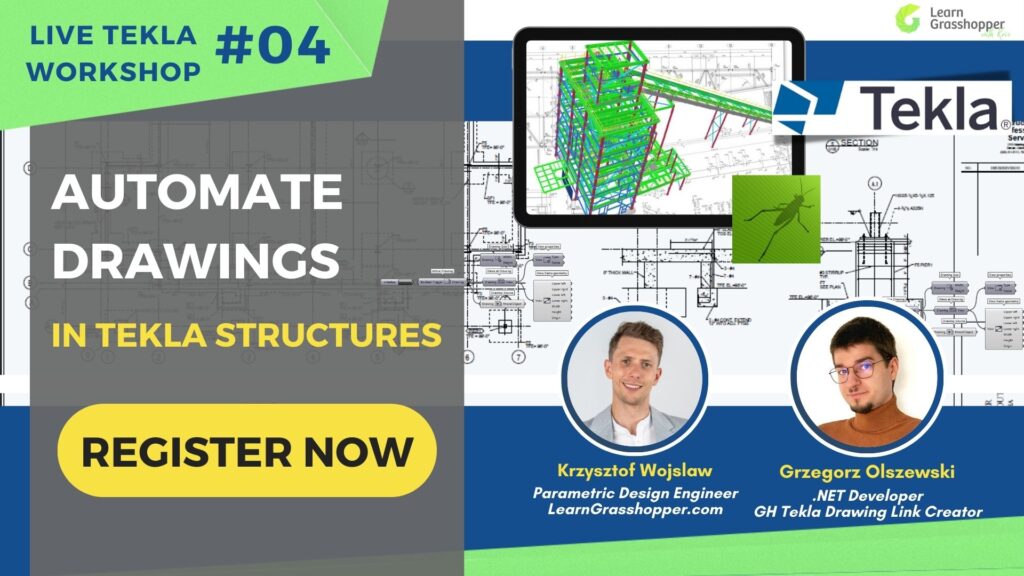
Tekla Drawing Link
This is a separate set of Grasshopper components, distinct from GH Live Link, designed for interacting with the Tekla drawing area. It is an open-source project, which means it is available for free, and everyone can examine the code! Grzegorz Olszewski did a remarkable job with this in his free time.
Revit Drawing Link
The entire Rhino.Inside.Revit project is an exciting development sponsored by Robert McNeel & Associates that brings the power of Rhino and Grasshopper into the Autodesk Revit environment. In the Rhino.Inside.Revit plugin, we can find several components that help us with drawing creation.
In the documentation tab, we can find components created for Drafting, Sheets, Views, and Graphic Overrides. What can you do with these components? Create Detail Lines, Add Regions, Create Texts, Add Detail Items, Add Symbols, Dimensions, Tags, Revisions, and Images.
So, the third reason why we should automate 2D drawing production is: Tools are already available and easy to learn. You don’t have to be an IT developer to create your own script for drawing automation.

4. Practical examples of 2D Drawing automation
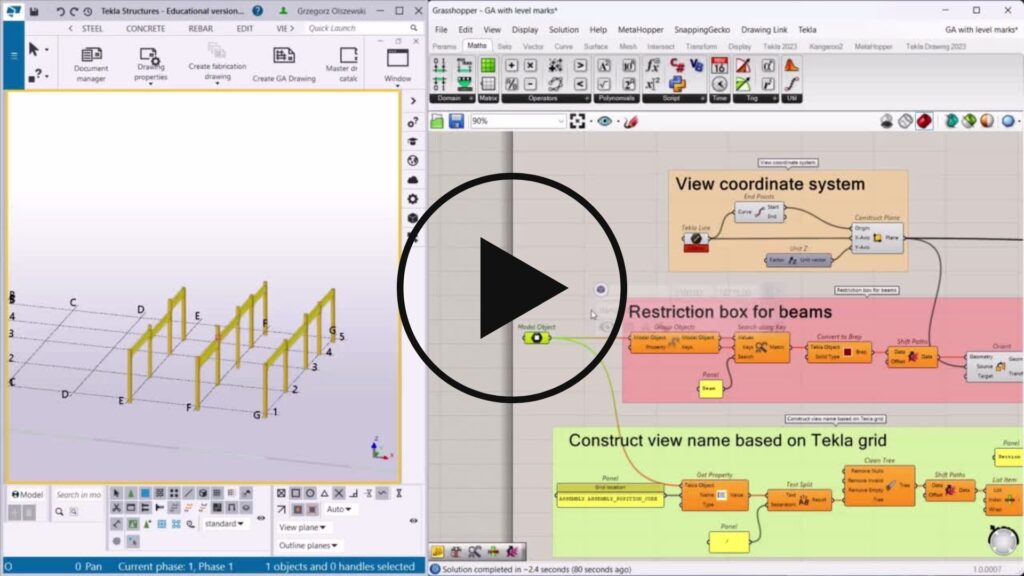
4.1. GA Drawing with Level Marks
Computational design is not about completing your projects with one click, as many think. It’s about reducing hundreds of clicks to one. As demonstrated in the video below, a small script automatically creates a General Arrangement drawing.
This script can either create a new drawing or reuse an already open one. What exactly does the script do?
- Based on the selection from the model, it creates a new, flat view that includes the input elements.
- It inserts elevation dimensions at the top/bottom of the column and at the top of the brackets.
- It positions the new view.
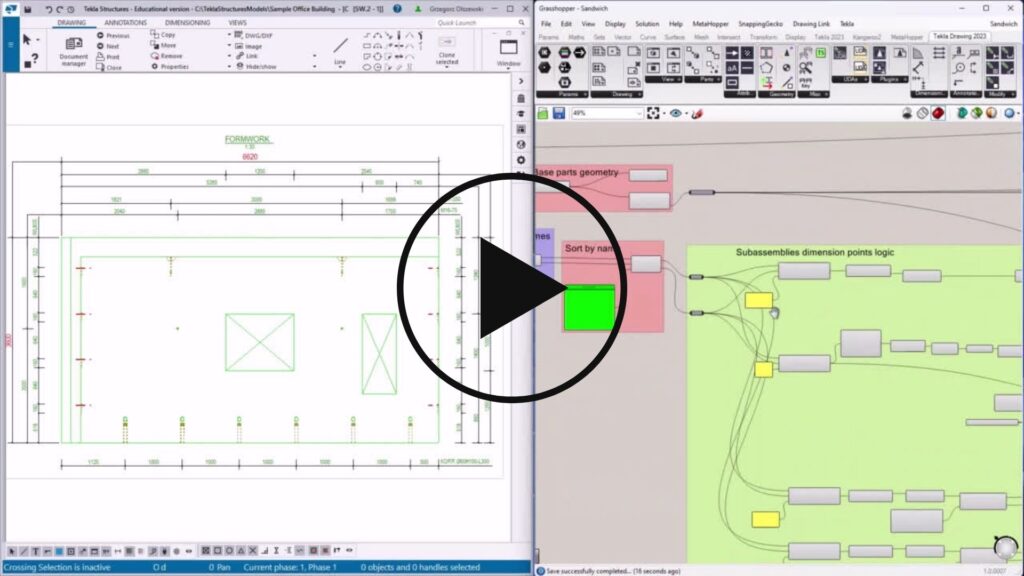
4.2. Sandwich Wall Drawing
As I already mentioned, creating drawings of sandwich walls was one of the most boring tasks in my entire career. Finally, there is a smart way to avoid this tedious task.
As demonstrated in the video below, we can create numerous small scripts and set up tools to automate Sandwich Walls (SW):
- The creation and correct placement of cross-sections in the drawing.
- The dimensioning of specific elements.
- The modification of visibility for selected lines or elements.
- Assigning correct UDA and properties.
So, the fourth reason why we should automate 2D drawing production is: To save time and use it for quality assurance of the 3D model and final 2D drawing.
5. Conclusions about 2D drawing automation
70% of the time spent in Tekla Structures and Revit is dedicated to the manual process of drawing production.
What are the consequences?
- Performing repetitive tasks makes work more boring.
- Stagnation occurs; you’re not developing your skills.
- As a result, there’s poor motivation to work.
Consider the time savings that could be used for Quality Assurance of the model rather than manually clicking the mouse to create lines. I believe architects’ and engineers’ potential extends far beyond merely drawing lines and placing text with numbers in certain places.
That’s why the fifth reason why we should automate 2D drawing production is: To have more fun at work!
For a long time, starting with the automation of the repetitive and time-consuming tasks in Tekla Structures was difficult. You had to search everywhere for bits of information, and it was very confusing. You didn’t have one place to learn it all, step by step, until now.
My new training, Grasshopper in Tekla, is based on more than ten years of expertise in Tekla Structures and uses proven methods from the world’s biggest projects. I’ve included tools and resources that you can freely use for drawing creation and 3D modelling in Tekla that give you the freedom to do everything you want… and nothing you don’t.
Join the waiting List and get the best offer!