
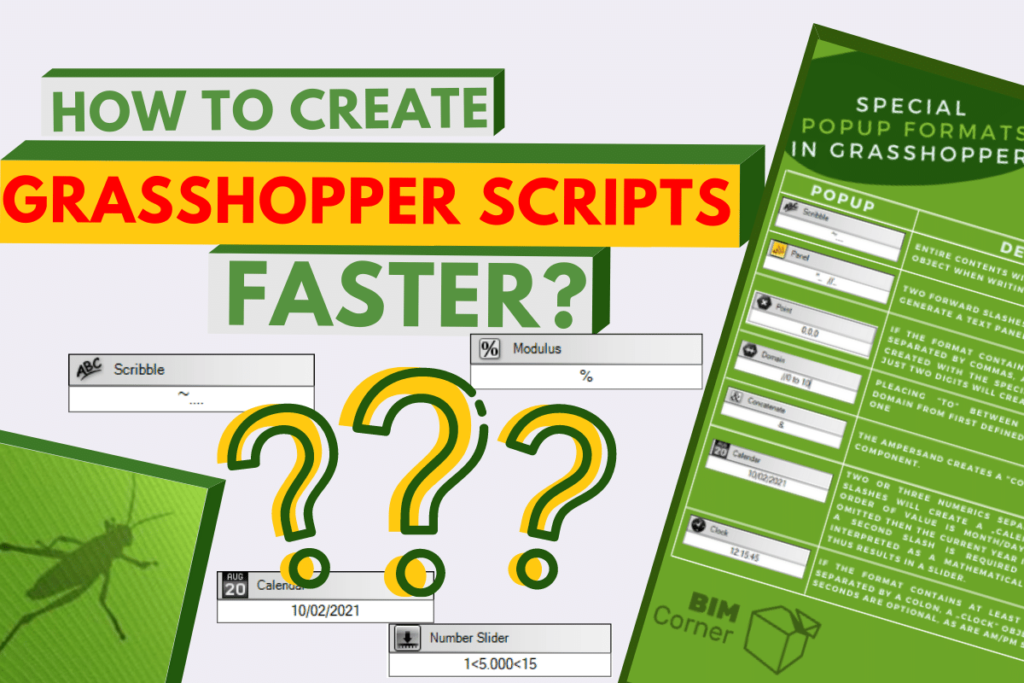
Some time ago, in the Grasshopper tips and tricks series, I had presented my personal list of 8 favourite grasshopper shortcuts (Link), 5 tricks to defeat spaghetti monster (Link) and 5 tips to better collaboration (Link). This time I will share with you tricks on how to be quicker in Grasshopper and create scripts in a faster way. To script like a pro, I really recommend printing out a list of shortcuts (at the end of this post) and starting using them at your daily work. If you haven’t heard about them, now is a time to step into the next level of scripting. Make sure that you went through the whole list of pop-up shortcuts and haven’t missed the Grasshopper tip at the very end of this post which is fantastic!
TIPS HOW TO CREAT SCRIPTS IN GRASSHOPPER FASTER
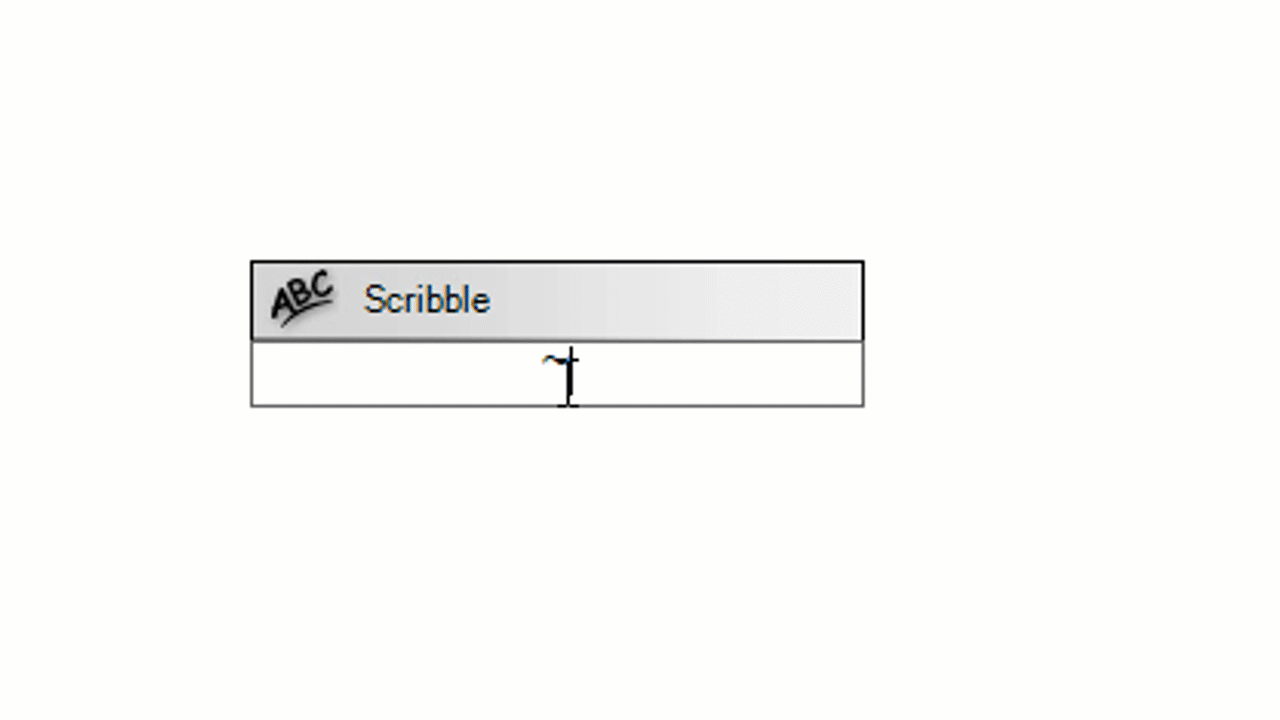
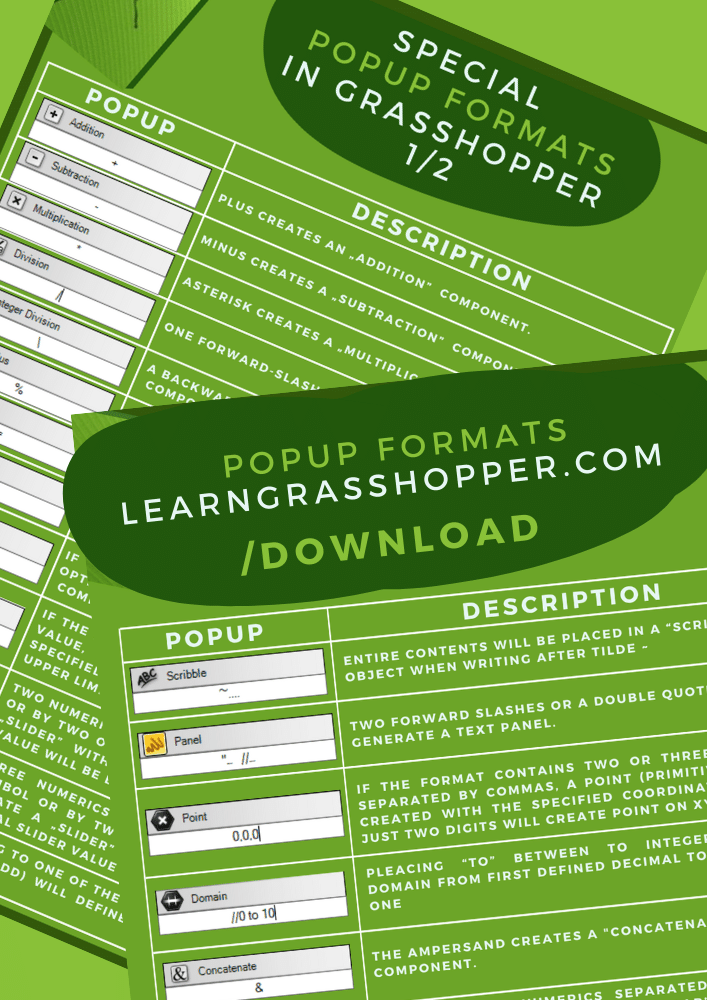
1. Scribble
- Double click on the canvas.
- Write in the command box tilde ~
- Write your text

2. Panel
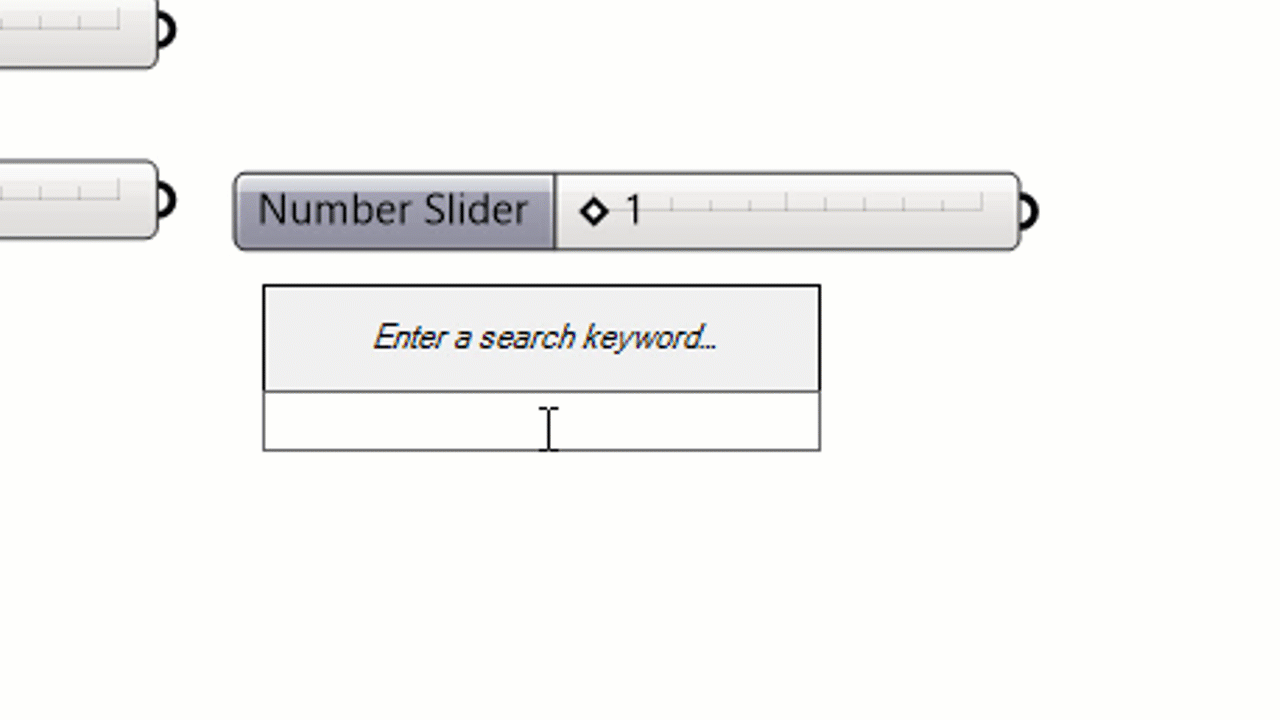
3. Sliders
Slider pop-ups are not so complicated. If the format can be evaluated as a single numeric value, a slider will be created with the specified initial value.
In pop-up formats, we can also define the limit of the slider. Two numerics separated by a `smaller than` symbol or two dots will create a slider with the specified limits. The initial slider value will be equal to the lower limit.
You can define the slider by three numerics. The first one will determine the lower limit, and the last one will represent the highest limit. The initial slider value will be the number in the middle. Moreover, adding to one of the numbers some digits after the dot will define the precision of the whole slider.
Note that it is possible to insert negative values in the slider component. Let’s say we would like to have the input slider equal to -10. Just after writing -10 in the command box, add two dots or smaller than the symbol -10.. or -10<
4. Calendar
We go to the next one, two or three numerics separated by forward slash will create a calendar object. The order of the value is month, day and year. If a year is omitted, then a current year will be used.
- Double click on the canvas.
- Write in the command Two or three numerics
- Separate them by forward slashes (mm/dd/yyyy)
- Press enter
- Calendar object will be created
5. Clock
Okay, so we have the date on our calendar. Now we need time on our clock. If the format contains at least two numerics separated by the colon (:) a clock object will be created. Seconds are optional here and not needed to write, and it’s unnecessary to define if it’s before noon or afternoon.
- Double click on the canvas.
- Write in the command Two or three numerics
- Separate them by colon (:)
- Press enter
- Clock object will be created

Next tips for fast creations of Grasshopper skripts
6. Point
- Double click on the canvas.
- Write in the command Two or three numerics
- Separate them by commas (,)
- Press enter
- Then a point will be created with the defined coordinates (dd,dd,dd)
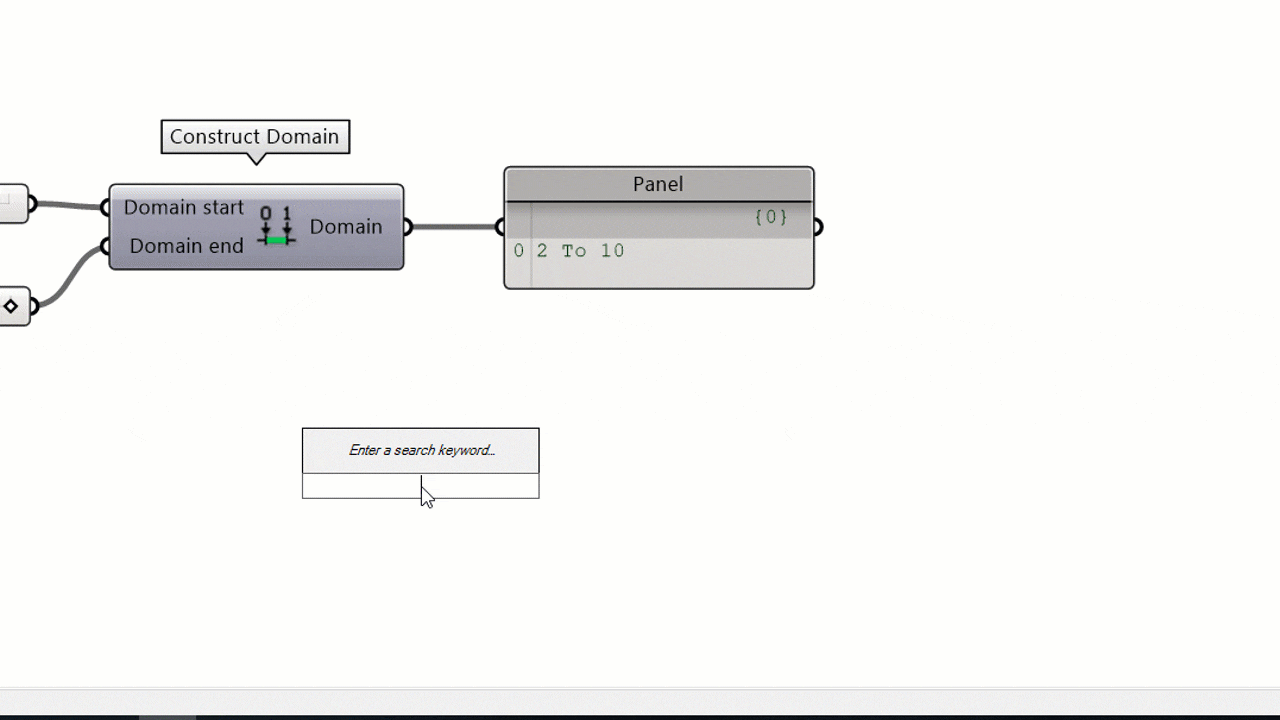
7. Domain
Place ¨to¨ between two integers, and you will get a domain ready to use. Use a panel and write the bounds with a to in the middle. Insert 0 To 5 in the panel, and the domain will be defined from the first decimal (0) to the second one (5). Whenever a component requests for a domain, this string format will be converted to one.
8. Mathematical components
- Plus `+` creates an addition component
- Minus `-` will create a substruction component
- Asterisks `*` creates a multiplication
- Backward slash `\` will create an integer division component
- The percent `%` symbol creates a modulus
List with the rest of the mathematical pop-up shortcuts can be found below.
9. An awesome trick for faster Grasshopper script creation
This list was just a drop in the ocean of pop-up shortcuts. The problem is that the search tool in Grasshopper doesn’t work precisely. Whenever you search the component, you need to correctly write down the full name, and it doesn’t always work. Usually, the first result will be the most relevant. Usually, because the full name must be written correctly.
If we go more to the top, we get less relevant components, and at the top, you can even find rhymes 😂 Who search components by their rhymes? Really! Useless feature .
However…
…you can help the Grasshopper searching engine in a straightforward way.
- Right-click on your component in the ribbon panel.
- Write a component alias. It is a kind of shortcut to your component.
- Now, when you double click on your canvas, write your alias.
- Your component will always be the first one on the list.
10. Download the whole list of POP-up shortcuts
I’m pretty sure that you will find on this list some shortcuts which you didn’t know before. CLICK below to download the entire list of shortcuts. Print out and hang out over your desk to be even faster when working with the Grasshopper scripts.
Do you have any questions?
What tricks are you using for fast creating of Grasshopper scripts?
Write an email at [email protected]
I always write back !!
Check out more tricks in Grasshopper
Grasshopper Data Tree – Path Mapper is a BADASS
If you want to get more information about Grasshopper and learn parametric modelling, download the free guide – FREE DOWNLOAD
Grasshopper is a plugin to Rhino that you can download HERE


Hello Krzysztof
I like your videos and is always helpful to me as a beginner in grasshopper , I noticed that you used tree cluster node that can show the path and the elements numbers in the viewport .where you get this from where i can find it ..can you share it ?
Thank you
Michael Mousa
Sure! Just write an email to [email protected] and I will send you this cluster